Give Your Wardrobe a Fresh Lick of Paint
Has your wardrobe seen better days? Does the outdated paint colour no longer match your décor, or has time simply taken its toll, leaving the surface chipped and lacklustre? Fear not! With a little elbow grease and this handy guide, you can breathe new life into your wardrobe with a fresh coat of paint. Painting your wardrobe yourself is a fantastic and budget-friendly way to update your bedroom furniture and give your space a whole new feel.
So, whether you’re looking for a quick refresh or a complete transformation, this step-by-step guide will equip you with all the knowledge you need to paint your wardrobe like a pro.
Before You Begin: Gathering Your Supplies
Before diving headfirst into painting your wardrobe, it’s important to gather all the necessary supplies. Here’s a list of everything you’ll need:
-
Wardrobe paint: This is the star of the show, so choose wisely! Opt for a good quality, durable wardrobe paint that is specifically designed for furniture. When selecting a paint colour, consider your existing décor and the overall feel you want to achieve. Do you want the wardrobe to blend in seamlessly with the background or make a bold statement?
-
Sugar soap: This will be used for cleaning the wardrobe before painting.
-
Sandpaper (in various grits): You’ll need a selection of sandpaper in different grits (fine, medium, and coarse) for prepping the wardrobe surface.
-
Dust sheets or old newspaper: Protect your floor and surrounding areas from paint splatters with dust sheets or old newspaper.
-
Paintbrushes: A variety of paintbrushes in different sizes will allow you to tackle all the nooks and crannies of your wardrobe.
-
Paint roller and tray: For covering larger, smooth surfaces of the wardrobe, a paint roller and tray will come in handy.
-
Drop cloth: If you’re using a paint sprayer, a drop cloth will provide extra protection for the surrounding area.
-
Paint scraper: A paint scraper will help remove any loose or flaking paint.
-
Masking tape: For creating clean lines and protecting areas you don’t want painted, masking tape is a lifesaver.
-
Tack cloths: A tack cloth will help remove dust and debris from the wardrobe surface before painting.
-
Safety gear: Safety first! Wear gloves, safety goggles, and a dust mask to protect yourself from paint fumes and dust particles.
Prepping the Wardrobe: The Key to a Flawless Finish
Now that you have all your supplies gathered, it’s time to prep the wardrobe for painting. This step is essential for ensuring a smooth, even finish and good paint adhesion.
-
Empty the Wardrobe: Begin by removing all the contents of your wardrobe, including clothes, shoes, and accessories. This will give you ample workspace and prevent any accidental paint mishaps.
-
Clear the Area: Move the wardrobe away from the wall if possible. If not, clear the surrounding area to create enough space for you to manoeuvre comfortably while painting.
-
Prepare the Surface: Using sugar soap and a damp cloth, thoroughly clean the entire surface of the wardrobe. This will remove any dirt, grime, or grease that could hinder paint adhesion. Pay particular attention to areas that are frequently touched, such as handles and knobs.
-
Remove Hardware: If possible, remove any hardware from the wardrobe, such as handles, knobs, and drawer pulls. This will make it easier to paint the wardrobe without getting paint on the hardware.
-
Tackle Loose Paint: Using a paint scraper, carefully remove any loose or flaking paint from the wardrobe surface. Be gentle but thorough to ensure a smooth base for the new paint.
-
Sanding is Key: Sand the entire surface of the wardrobe using fine-grit sandpaper. This will help create a slightly rough surface that will allow the new paint to adhere better. Once you’ve sanded the entire wardrobe, wipe away any dust particles with a tack cloth.
Masking Up: Protecting the Unpainted Areas
Once you’ve prepped the wardrobe surface, it’s time to mask off the areas you don’t want painted. This includes the wardrobe’s interior (if you’re not painting it), the back panel, any hardware you can’t remove, and the surrounding walls and flooring.
Here’s how to mask effectively:
-
Use high-quality masking tape that adheres well to surfaces but removes cleanly without leaving any residue.
-
Apply the masking tape neatly and firmly to the edges of the areas you want to protect, ensuring a tight seal.
-
If you’re concerned about paint bleeding through the masking tape, you can apply a second layer of painter’s tape over the first.
Painting Time!
Now for the fun part – the actual painting!
-
Prime Time: If you’re using a dark paint colour over a light surface, or if the wardrobe surface is particularly porous, it’s a good idea to apply a coat of primer before painting. Primer will help the paint adhere better and create a more even finish.
-
Choose Your Painting Method: Decide whether you want to use a paintbrush, roller, or even a paint sprayer.
-
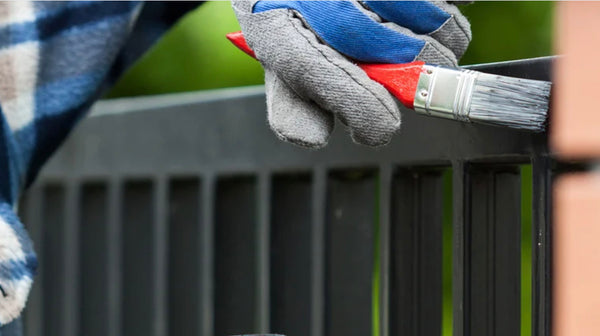
Paintbrush: For intricate details and smaller areas, a paintbrush is ideal. Use smooth, even strokes to apply the paint.
-
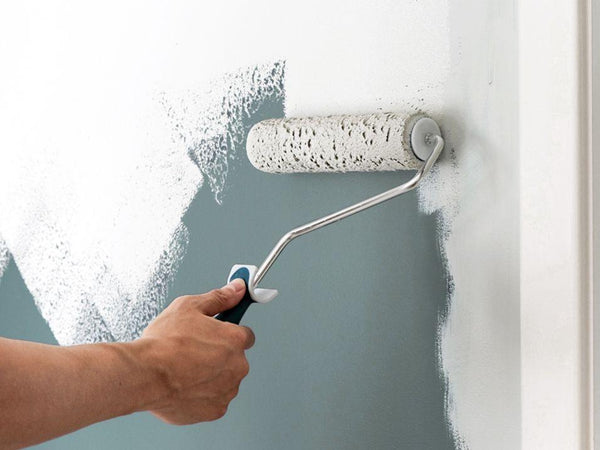
Paint Roller: For larger, flat surfaces, a paint roller is a time-saving option. Load the roller with paint and apply it in a “W” or “M” pattern for even coverage.
-
Paint Sprayer: If you’re feeling adventurous and confident, a paint sprayer can provide a professional-looking finish. However, it’s important to use a paint sprayer outdoors or in a well-ventilated area and take necessary safety precautions.
-
Apply the Paint: Apply the first coat of paint evenly and smoothly. Allow the paint to dry completely according to the manufacturer’s instructions. This usually takes a few hours.
-
Second Coat is a Must: Once the first coat is dry, apply a second coat of paint for a richer, more even finish. Follow the same painting technique as for the first coat.
-
Clean Up: Once the second coat of paint is dry, remove the masking tape carefully to avoid damaging the paint. Clean your brushes and rollers thoroughly with soap and water.
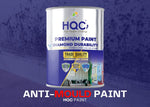
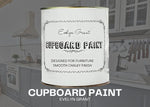
For a flawless and long-lasting finish on your cupboards, consider using
These premium wardrobe paints are specifically formulated to provide excellent adhesion, ensuring smooth application on wood, laminate, and other surfaces.
Available in a variety of stylish colours, these wardrobe paints not only revitalise your cupboards but also offer a durable, scratch-resistant finish that stands the test of time. Whether you’re updating a modern or traditional space, this paint delivers professional results with ease.
Finishing Touches
Once the paint is completely dry, you can add the finishing touches to your newly painted wardrobe.
-
Reattach Hardware: If you removed the hardware, reattach it to the wardrobe.
-
Apply a Protective Finish: For extra durability and protection, consider applying a clear coat of varnish or sealant. This will help to protect the paint from scratches and wear and tear.
Tips and Tricks for a Perfect Paint Job
-
Stir the Paint: Always stir the paint thoroughly before and during painting to ensure an even colour and consistency.
-
Don't Overload the Brush: Overloading your brush with paint can lead to drips and runs.
-
Maintain a Wet Edge: When painting, try to maintain a wet edge to avoid visible lap marks.
-
Take Breaks: Don't overwork yourself. Take regular breaks to avoid fatigue and ensure you’re painting accurately.
-
Ventilation: Ensure proper ventilation throughout the painting process.
Troubleshooting Common Issues:
-
Uneven Coverage: If you notice uneven coverage, apply a thin third coat of paint.
-
Drips and Runs: If you encounter drips and runs, use a sharp knife to carefully remove them before the paint dries completely.
-
Brush Strokes: If you notice brush strokes, lightly sand the surface with fine-grit sandpaper and apply another thin coat of paint.
And There You Have It!
With a little patience and attention to detail, you can transform your old, tired wardrobe into a stylish and functional piece of furniture. Painting your wardrobe yourself is a rewarding DIY project that can save you money and give you a sense of accomplishment. So, roll up your sleeves, gather your supplies, and get painting!
Remember: Always refer to the specific instructions on your paint cans for best results.


