Introduction
Priming your exterior surfaces is essential for ensuring long-lasting paint adhesion and protecting the material underneath from harsh weather conditions. Proper priming creates a smooth and durable base, allowing the paint to adhere properly and withstand exposure to elements like rain, UV rays, and temperature fluctuations. Whether you're painting bare wood, masonry, or metal, priming is a critical step that should never be skipped.
In this guide, we’ll walk you through how to properly prime your exterior surfaces for a professional and long-lasting finish.
Step 1: Gather Your Materials
Before you begin priming your exterior surface, make sure you have the following materials:
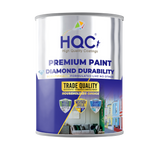
- HQC Stabilising Universal Primer: Ideal for exterior surfaces like masonry, wood, and metal.
- Scraper and wire brush: For removing loose paint, dirt, or rust.
- Sandpaper: To smooth rough areas.
- Power washer (optional): For cleaning large surfaces.
- Brush, roller, or sprayer: Depending on the size and type of surface, use your preferred method of application.
- Drop cloths or tarps: To protect the surrounding areas from drips or spills.
Step 2: Clean the Surface
Proper cleaning is the first step to ensuring that the primer bonds well to the surface. Cleanliness is key for a successful priming and painting process:
- Remove Dirt and Debris: Use a power washer or a hose to thoroughly clean the surface. Remove any dirt, dust, or grease. If the surface has mould, moss, or algae, use a Fungicidal Wash to clean the area. Allow the surface to dry completely before proceeding.
- Scrape Off Loose Paint: Use a scraper to remove any peeling or flaking paint. For metal surfaces, use a wire brush to remove rust and other contaminants.
- Sand the Surface: Sand rough or glossy surfaces to create a smooth, even surface that the primer can easily adhere to.
Step 3: Apply the Primer
Now that the surface is clean and dry, it’s time to apply the primer:
- Stir the Primer: Before applying, stir the HQC Stabilising Universal Primer thoroughly to ensure an even consistency.
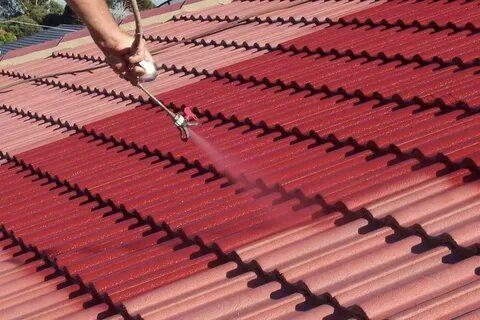
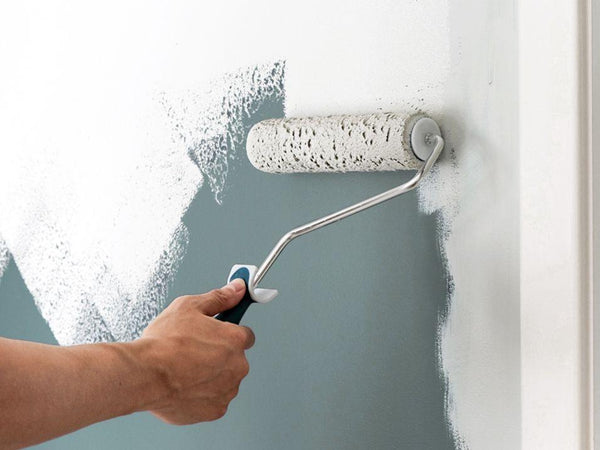
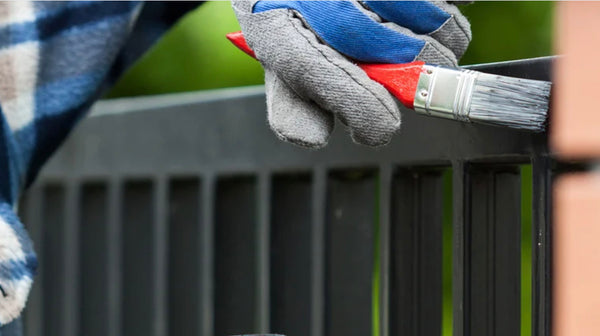
- Apply the First Coat: Using a brush, roller, or sprayer, apply a thin, even coat of primer. Make sure to cover the entire surface, including corners and edges, to ensure proper coverage.
- Let the Primer Dry: Allow the primer to dry for the recommended time (typically 4-6 hours) before applying a second coat or your topcoat of paint.
- Apply a Second Coat (Optional): For porous or highly absorbent surfaces like fresh plaster or masonry, consider applying a second coat of primer to ensure full coverage and proper sealing.
Step 4: Inspect the Surface
After the primer has dried, inspect the surface for any areas that may need additional attention:
- Check for Missed Spots: Look for any areas that may have been missed or unevenly coated. Touch up those areas before applying the topcoat.
- Prepare for Painting: Once the primer has fully dried, you’re ready to start painting your exterior surface with your chosen topcoat.
Important Tips for Priming Different Surfaces
- Wood: Sand the wood lightly before priming to ensure a smooth finish. Use HQC Stabilising Universal Primer to seal the surface and prevent paint from soaking into the wood.
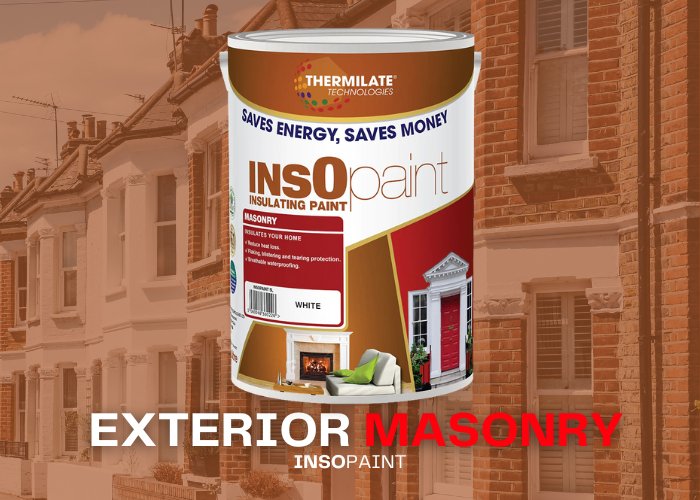
- Masonry: Masonry surfaces, especially fresh plaster or concrete, are porous and require a primer or you can also apply a mist coat by mixing your first coat of paint with 50% water and allow it to dry for 8 hours before painting.
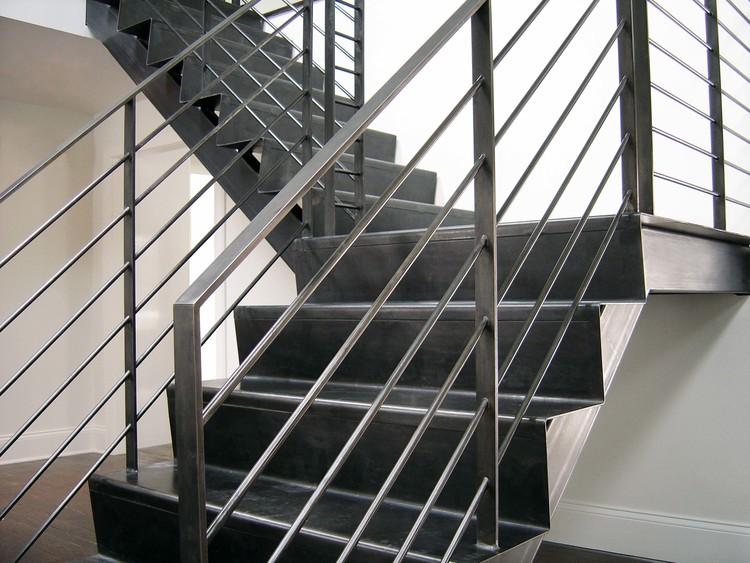
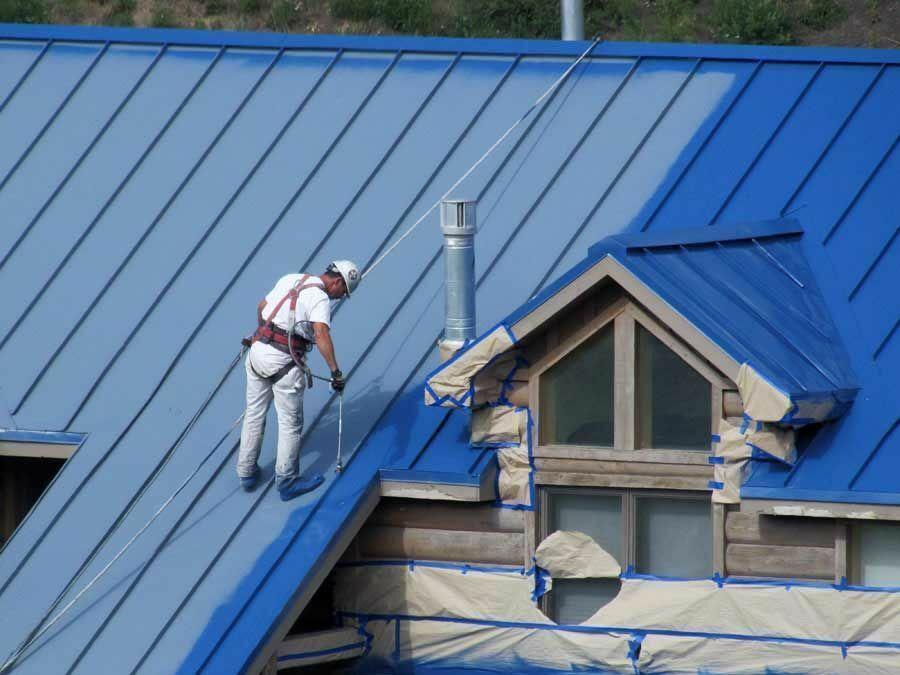
- Metal: For metal surfaces, it’s essential to remove all rust and debris before priming. Use Thermilate Trade WarmTouch Universal Primer for added insulating benefits and rust protection.
Recommended Products
For the best results when priming your exterior surfaces, we recommend the following products from PaintOutlet.co.uk:
- HQC Stabilising Universal Primer: Perfect for sealing and preparing wood, masonry, and other exterior surfaces.
- Thermilate Trade WarmTouch Universal Primer: Ideal for metal surfaces, providing rust protection and insulation benefits.
FAQ Section
Q: Why is priming necessary for exterior surfaces?
A: Priming creates a smooth, sealed surface that ensures better adhesion of paint and provides protection against the elements. It also helps prevent issues like peeling, blistering, and cracking.
Q: How long should I wait between priming and painting?
A: Most primers, including HQC Stabilising Universal Primer, require 4-6 hours of drying time before applying the topcoat. Always follow the manufacturer’s instructions.
Q: Can I use the same primer for wood, masonry, and metal?
A: While HQC Stabilising Universal Primer is suitable for most surfaces, metal surfaces may benefit from Thermilate Trade WarmTouch Universal Primer for added rust protection and insulation benefits.
Conclusion
Priming your exterior surfaces is a crucial step to ensure a durable and long-lasting paint job. By following this guide and using high-quality products from PaintOutlet.co.uk, you can prepare your exterior surfaces properly for painting and protect them from harsh weather conditions. With the right primer and preparation, your exterior surfaces will stay protected and look great for years to come.
Shopping with PaintOutlet helps you save paint waste, money, and time while using the highest quality paints and products made in-house. We are on a mission to reduce carbon emissions and prioritise environmental sustainability over profit.


