


Introduction
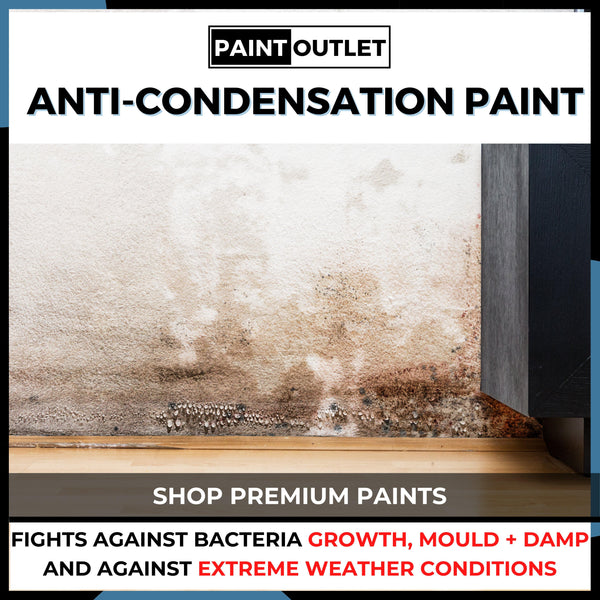
Bathrooms are high-moisture areas, so painting them requires specific attention to ensure durability and resistance to humidity, mould, and dampness. Surface preparation is the most important step when painting, as it ensures proper paint adhesion and prevents peeling, mould growth, or damage caused by moisture.
In this guide, we’ll walk you through the process of painting your bathroom, using anti-mould and damp-resistant solutions, ensuring a professional finish that will last even in these challenging conditions.
Step 1: Gather Your Materials
Before you begin, make sure you have all the necessary materials:
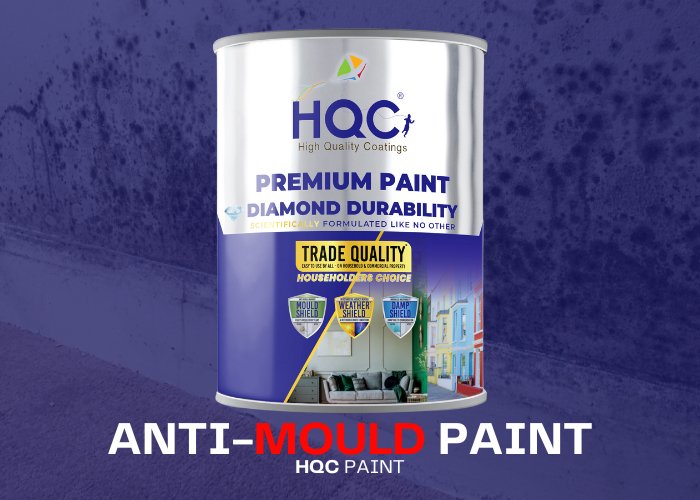
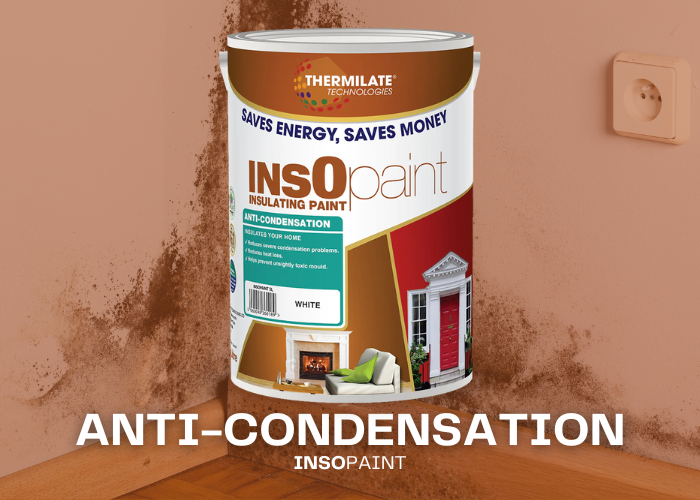
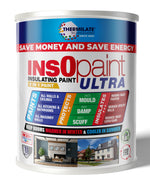
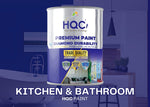
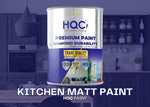
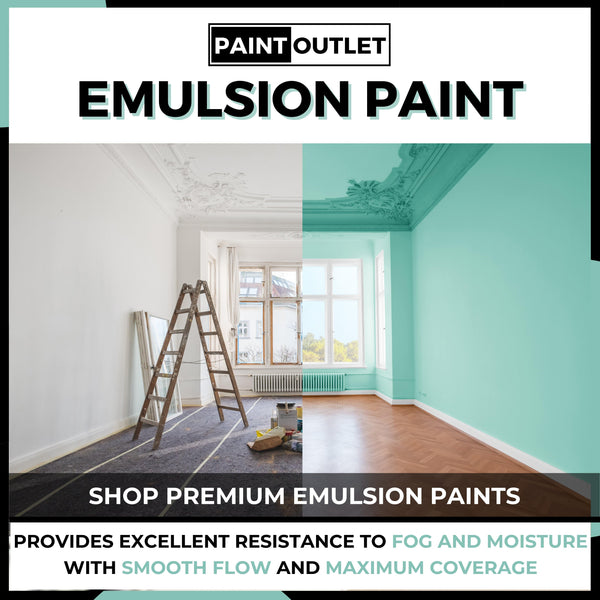
- HQC Kitchen & Bathroom Paint or InsOpaint Ultra for moisture, stain, and mould-resistant finishes. InsOpaint Ultra also provides insulating benefits, helping to regulate temperature in the bathroom.
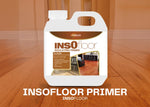
- HQC Stabilising Universal Primer for priming walls, especially if they’re porous or have been previously painted.
- Paintbrushes: Ideal for edges, corners, and around fixtures.
- Rollers: For applying paint to larger wall areas.
- Painter’s tape: To protect tiles, fixtures, and mirrors.
- Drop cloths: To cover floors and surfaces from paint splashes.
- Sugar soap or degreaser: To clean walls and remove soap scum or mildew.
Step 2: Prepare the Bathroom Walls
Bathrooms are prone to moisture, soap scum, and grime buildup, so cleaning and preparation are essential:
- Clean the Walls: Use sugar soap or a degreaser to thoroughly clean the walls, removing soap scum, dirt, and mildew. Let the walls dry completely.
- Remove Loose Paint: Scrape off any peeling or flaking paint, and sand the surface smooth.
- Repair Cracks or Holes: Fill in any cracks or holes with filler and sand them smooth once dry.
- Tape Off Areas: Use painter’s tape to protect tiles, mirrors, countertops, and fixtures.
Step 3: Apply Primer
For bathrooms, it’s crucial to use a primer that can handle moisture and prevent mould growth. Applying primer will help the paint adhere better and provide a long-lasting finish.
- Pro Tip: For porous surfaces like fresh plaster or concrete, apply a mist coat by mixing the first coat with 50% water. We recommend using HQC Stabilising Universal Primer for the best results.
Step 4: Start Painting the Bathroom Walls
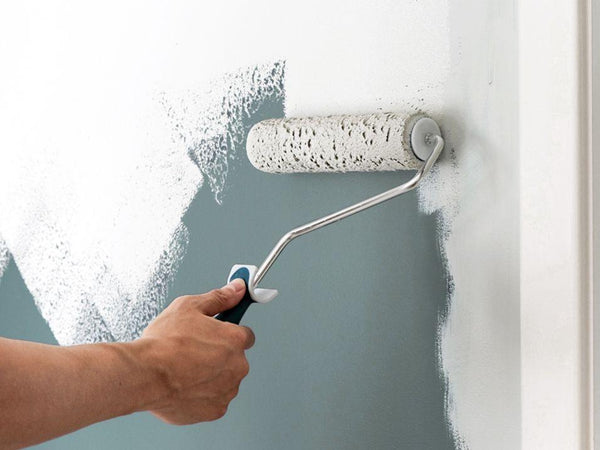
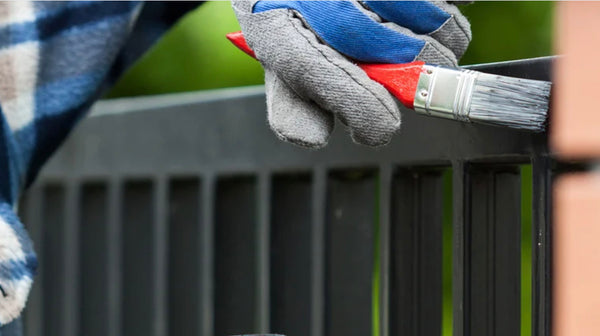
Once your walls are prepped and primed, it's time to paint. You can use a brush, roller, or spray depending on the size of the area.
- Cut In First: Start by painting around the edges, corners, and fixtures with a brush for precision.
- Roll for Large Areas: Use a roller to apply the paint evenly on the larger wall surfaces.
- Apply the First Coat: Apply one coat of paint first, then assess whether the colour and finish are to your liking. If necessary, apply a second coat for a thicker, more durable finish.
- Let the Paint Dry: Allow the first coat to dry for 4-6 hours before applying a second coat if needed.
Step 5: Inspect and Touch Up
Once the second coat has dried, inspect the walls for any spots that need touching up. Use a small brush to fix any uneven areas.
Step 6: Clean Up
After the project is complete, clean up the area and your tools:
- Remove Tape: Remove the painter’s tape while the paint is still slightly wet to avoid peeling off dried paint.
- Clean Your Tools: Clean your brushes, rollers, and trays with warm water for future use.
- Clear the Area: Remove drop cloths and allow the paint to fully cure before exposing it to moisture or water.
Recommended Products
For the best results when painting bathroom walls, we recommend using the following products from PaintOutlet.co.uk:
- HQC Kitchen & Bathroom Paint: Provides a durable, moisture-resistant, and anti-mould finish, ideal for high-humidity areas like bathrooms.
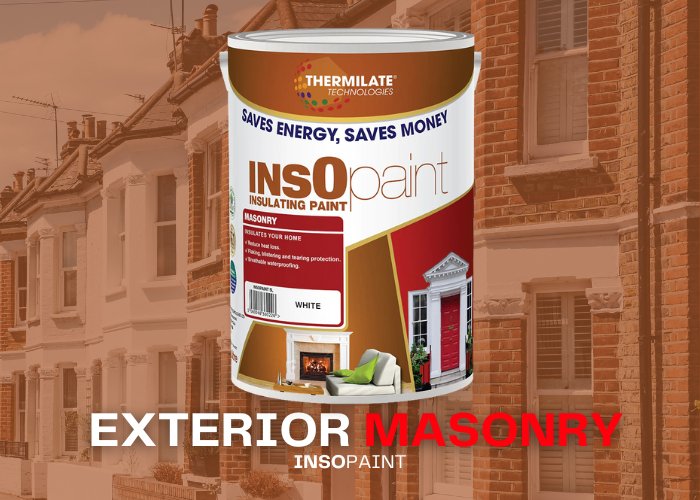
- InsOpaint Ultra: Offers moisture resistance and insulating benefits, helping to keep the bathroom warmer in winter and cooler in summer while providing mould-resistant protection.
- HQC Stabilising Universal Primer : Ensures proper adhesion and seals porous surfaces for a longer-lasting paint finish.
FAQ Section
Q: What is the best paint to use for bathroom walls?
A: We recommend HQC Kitchen & Bathroom Paint or InsOpaint Ultra, both of which provide moisture resistance, durability, and mould protection in high-humidity areas like bathrooms. InsOpaint Ultra also provides thermal insulation, helping to regulate the temperature in the bathroom.
Q: How many coats of paint should I apply in the bathroom?
A: Apply at least two coats for even coverage and maximum durability in moisture-prone areas like bathrooms.
Q: Should I always prime bathroom walls before painting?
A: Yes, priming is essential for porous or previously painted walls to ensure the paint adheres properly and withstands the moisture in the bathroom.
Conclusion
Painting your bathroom can make it feel fresh and clean, but it’s important to use the right products and follow proper preparation techniques. By following this guide and using high-quality products from PaintOutlet.co.uk, you’ll achieve a long-lasting and beautiful finish that stands up to the demands of a humid bathroom environment.
Why shop at PaintOutlet? When you shop with PaintOutlet, you’re saving paint waste, saving money, and saving time. Plus, all of our high-quality paints and primers are made in-house with sustainability in mind, helping to reduce carbon emissions while delivering premium results.