


Introduction
Coastal homes face unique environmental challenges, such as salty air, high humidity, and strong winds, which can lead to wear and tear on exterior paint, mould, and condensation issues. Choosing the right paint and applying it properly can protect your home from these elements while also helping to reduce energy costs by using Thermilate’s insulating solutions. This guide will walk you through how to paint homes in coastal areas, offering long-lasting protection and explaining how insulating paints can help in both hot and cold environments.
Before painting, you must fix any root causes of mould or dampness. Painting without addressing these issues will not prevent them from returning and could result in peeling, mould, or other damage over time.
Surface Preparation is the most important step when painting. If avoided, it can affect the whole outcome of your project. Surfaces must be prepared correctly for the paint to adhere and bond to the surfaces. Poor preparation will result in peeling and flaking. Good preparation will give you a very long-lasting paint performance.
Step 1: Gather Your Materials
Before you start, make sure you have the following materials:
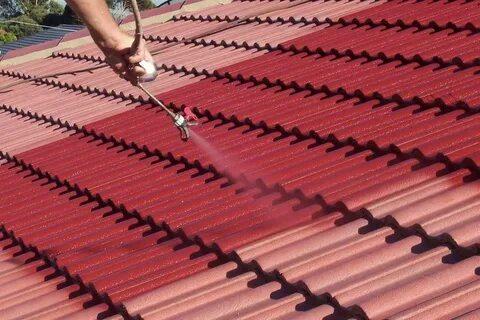
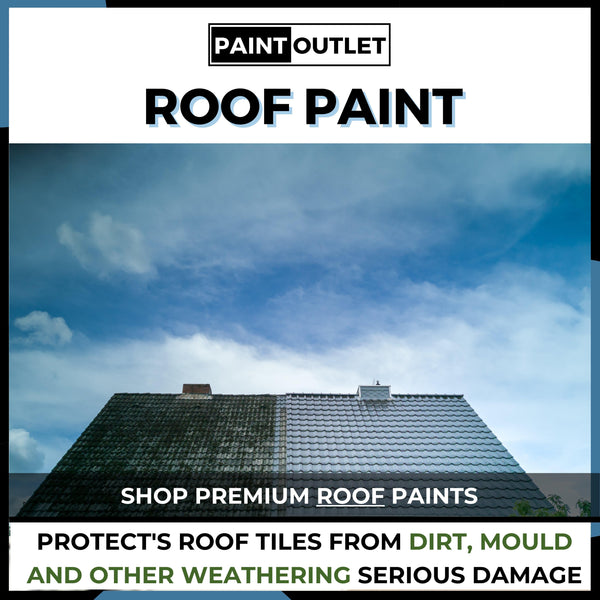
- Pro Range Roof Coating: Perfect for protecting roofs from salty air, rain, and wind exposure while providing energy-saving insulating benefits with its Thermilate additives.
- S-Flex Exterior Wall Coating: A flexible, weather-resistant coating that enhances durability in coastal environments and provides energy-saving benefits by improving insulation and reducing temperature fluctuations inside the home.
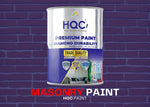
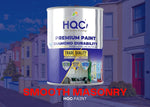
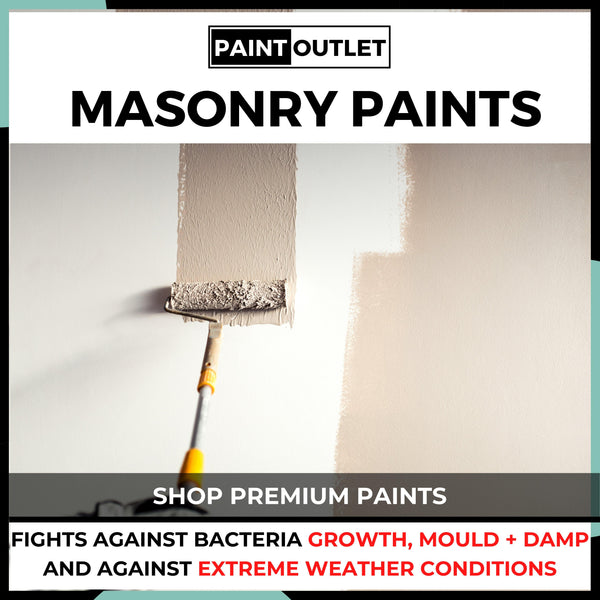
- HQC Masonry Paint: Ideal for exterior walls, providing weatherproof protection against salt air and moisture. (This paint does not have insulating properties.)
- Wire brush or sanding block: For removing dirt, loose materials, and smoothing rough surfaces.
- Brushes, rollers, or a paint sprayer: Depending on your preference for applying the paint.
- Pressure washer or garden hose: To clean the surfaces thoroughly before painting.
- Drop cloths or plastic sheets: To protect the surrounding area from paint splatters.
- Painter’s tape: To mask off areas that should not be painted.
Step 2: Prepare the Surface
Coastal homes experience extra wear due to salt deposits and humidity, so it’s important to prepare the surface properly to ensure durability and prevent future mould and condensation issues:
- Clean the Surface: Use a pressure washer or garden hose to remove salt deposits, dirt, and any loose materials. Allow the surface to dry completely before proceeding.
- Sand and Remove Loose Paint: Use a sanding block or wire brush to remove old paint, loose plaster, or debris. This ensures the new paint adheres properly.
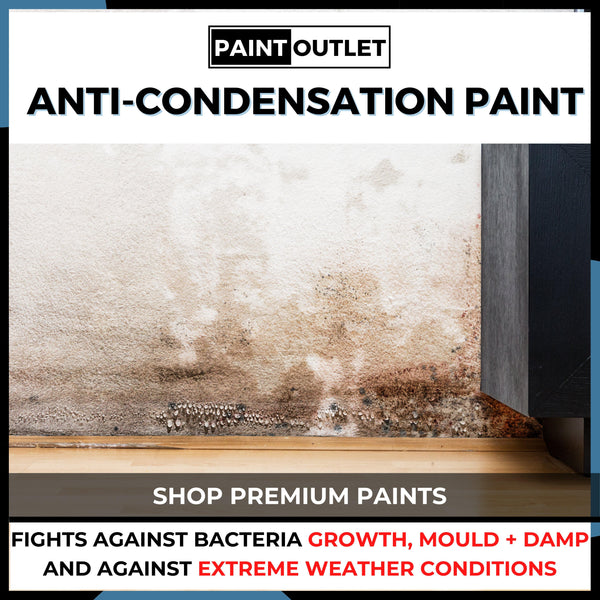
- Apply Anti-Mould Treatment (If Necessary): If you’ve noticed mould or condensation on your walls, apply an anti-mould solution to prevent future issues. Coastal environments often create the perfect conditions for mould, so addressing this during surface preparation is crucial.
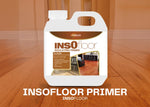
- Prime the Surface:
- Apply HQC Universal Primer to seal the surface and prevent moisture penetration. This primer ensures better adhesion, but it does not provide insulating properties.
Step 3: Mask the Area
To protect areas of the home and surrounding surfaces:
- Apply Painter’s Tape: Mask off any areas such as windows, trim, or hardware that should not be painted.
- Lay Down Drop Cloths: Place drop cloths or plastic sheets on the ground to protect against paint splatters.
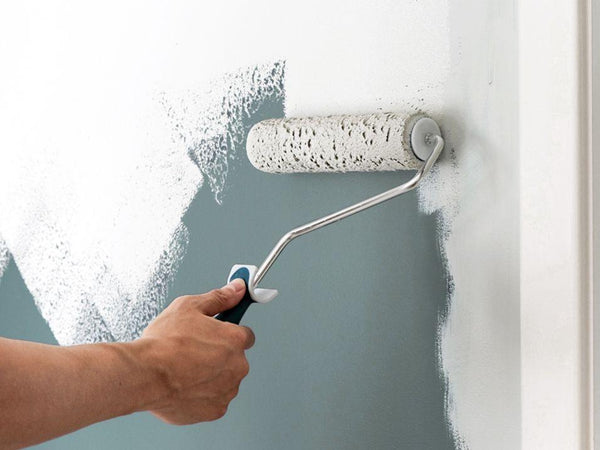
Step 4: Apply the Paint
Once the surface is prepped and masked, you can begin painting:
- Cut In with a Brush: Use a small brush to paint the edges, corners, and detailed areas.
- Apply the First Coat:
- For exterior walls, apply S-Flex Exterior Wall Coating. This product offers protection from coastal elements and includes insulating properties to help moderate interior temperatures, reducing energy costs in both hot and cold environments.
- For roofs, use Pro Range Roof Coating. It includes Thermilate additives that provide insulating benefits, keeping your home cooler in summer and warmer in winter by reflecting heat and preventing temperature fluctuations.
- Let the Paint Dry: Allow the first coat to dry completely, typically 4-6 hours depending on weather conditions.
- Apply a Second Coat (If Necessary): Apply a second coat for enhanced protection and coverage once the first coat has dried.
Step 5: Finishing Touches
After the paint has dried, finish the project with the following steps:
- Remove Painter’s Tape: Gently remove the painter’s tape while the paint is still slightly tacky to avoid peeling.
- Inspect for Touch-Ups: Check for any missed spots or imperfections and apply touch-up paint as necessary.
The Benefits of Using Insulating Paint in Coastal Areas
Coastal homes are often exposed to extreme temperature fluctuations. The use of Thermilate insulating paints such as S-Flex Exterior Wall Coating and Pro Range Roof Coating can:
- Reduce Energy Costs: By reflecting heat during the summer and insulating the walls and roofs during the winter, these paints help regulate the temperature inside the home, reducing the need for air conditioning or heating.
- Prevent Condensation and Mould: Coastal areas are prone to high humidity, which can cause condensation and lead to mould. Insulating paints help keep the interior surfaces dry by creating a thermal barrier, reducing the chances of condensation.
- Enhance Comfort: In both hot and cold climates, these insulating products maintain a more consistent indoor temperature, keeping your home comfortable regardless of the season.
Recommended Products
For painting your coastal home with energy-saving and insulating benefits, we recommend the following products from PaintOutlet.co.uk:
- Pro Range Roof Coating: Provides insulating properties with Thermilate additives, protecting roofs from extreme weather conditions and helping reduce energy costs.
- S-Flex Exterior Wall Coating: Flexible, weather-resistant, and insulating, this coating helps protect coastal homes from harsh weather while maintaining a moderate indoor temperature.
- HQC Masonry Paint: Provides weatherproof protection, but remember that it does not include insulating properties.
FAQ Section
Q: How do insulating paints help in coastal areas?
A: Insulating paints such as S-Flex Exterior Wall Coating and Pro Range Roof Coating help regulate the internal temperature of homes by reflecting heat in summer and insulating in winter, reducing energy consumption and preventing condensation.
Q: Can insulating paints help prevent mould?
A: Yes, insulating paints create a thermal barrier that helps reduce condensation, a common cause of mould in coastal areas. By preventing condensation, they help keep the walls dry and reduce the risk of mould growth.
Q: How often should I repaint my coastal home to maintain its protection?
A: Due to the harsh conditions in coastal areas, it’s recommended to repaint every 3-5 years to maintain maximum protection against the elements.
Conclusion
Painting a coastal home requires the right products and preparation to protect it from salty air, high humidity, and extreme weather. Using Thermilate insulating paints can protect your property while reducing energy costs by keeping your home cooler in summer and warmer in winter. By following this guide and using high-quality products from PaintOutlet.co.uk, you can ensure your home remains protected, energy-efficient, and beautiful for years to come.
Why Choose PaintOutlet: At PaintOutlet, we are committed to providing high-performance, eco-friendly paints that help protect your home from the toughest elements. Our insulating products not only enhance comfort and energy efficiency but also reduce the risk of mould and condensation in your home. By choosing PaintOutlet, you invest in long-lasting protection and sustainable solutions for your coastal property.