Introduction
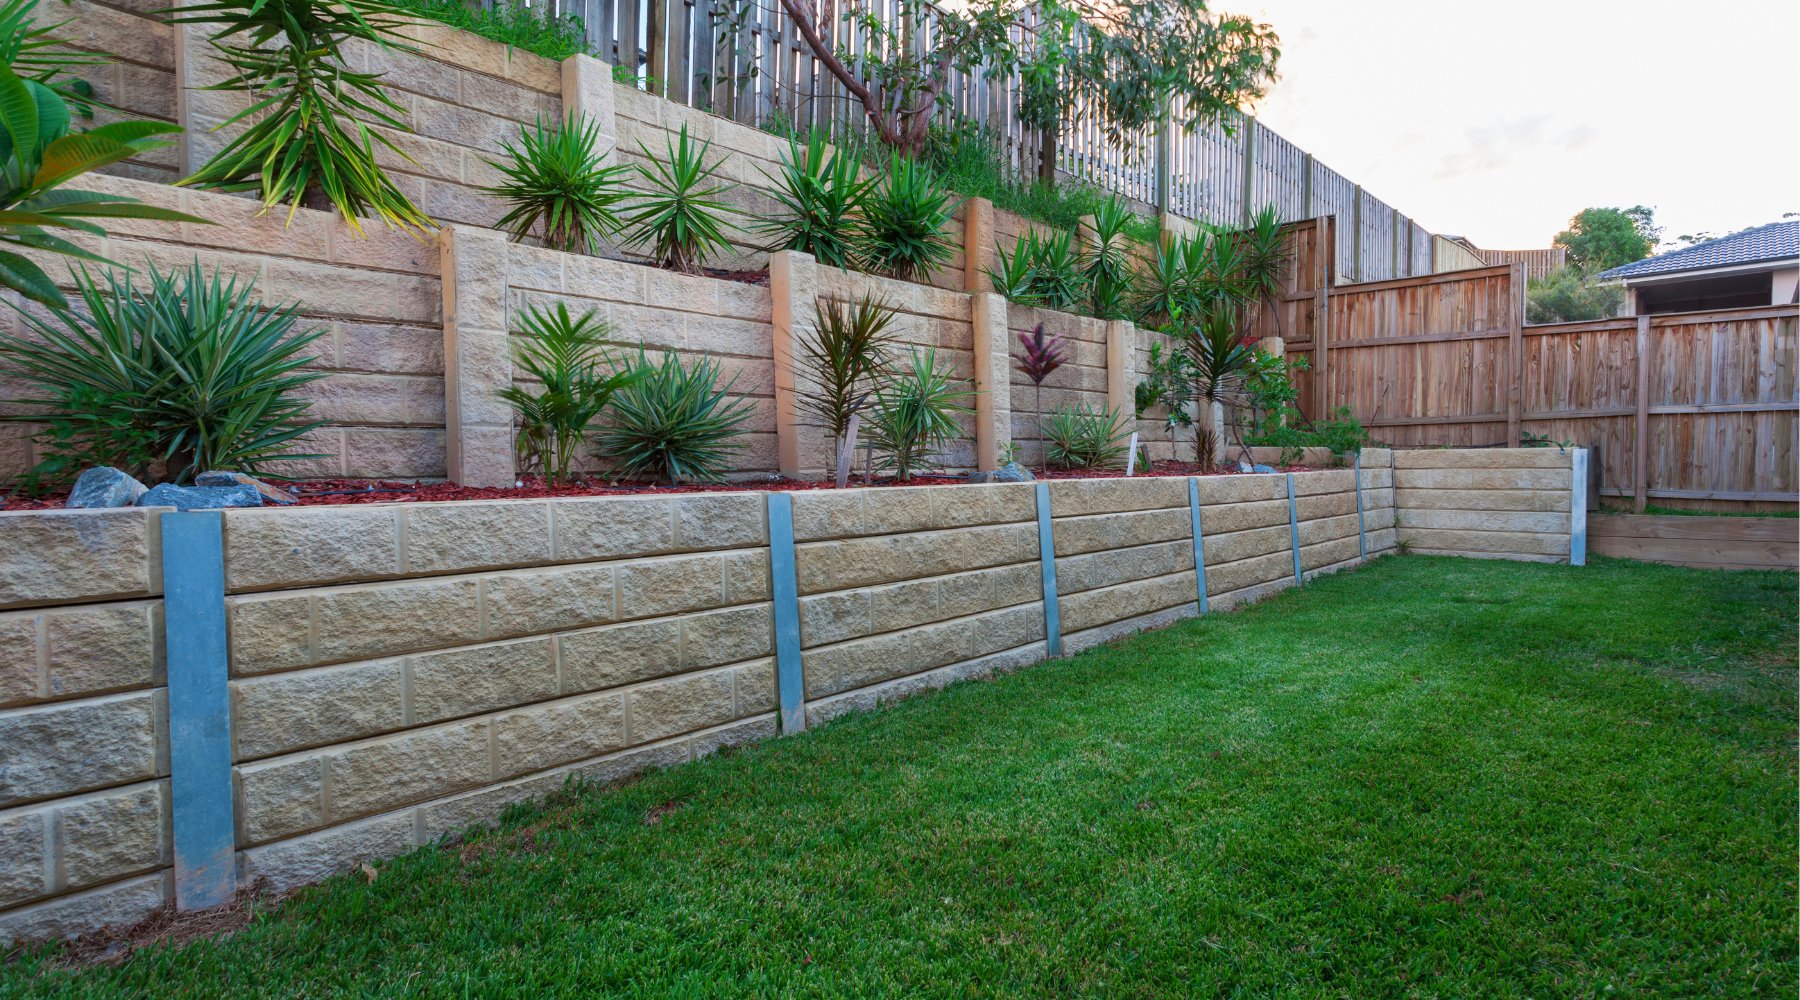
Garden walls are exposed to harsh weather conditions, which can cause fading, cracking, or moss buildup. Painting your garden walls not only enhances the appearance of your outdoor space but also provides long-lasting protection against the elements. This guide will walk you through the steps to paint garden walls for a durable and attractive finish.
Surface Preparation is the most important step when painting. If avoided, it can affect the whole outcome of your project. Surfaces must be prepared correctly for the paint to adhere and bond to the surfaces. Poor preparation will result in peeling and flaking. Good preparation will give you a very long-lasting paint performance.
Step 1: Gather Your Materials
Before starting your project, make sure you have the following materials:
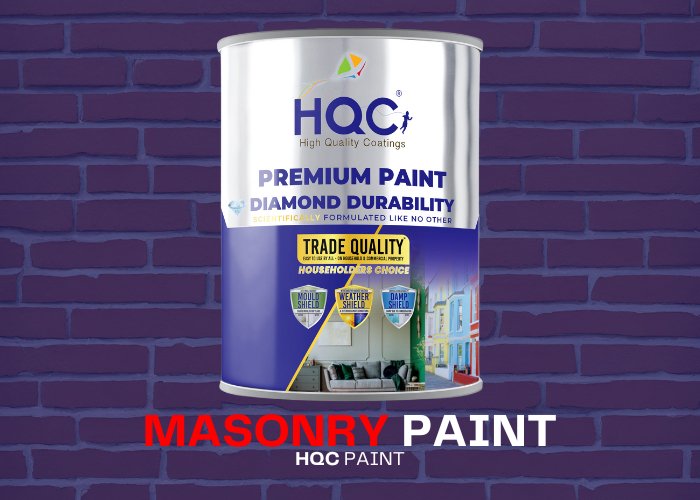
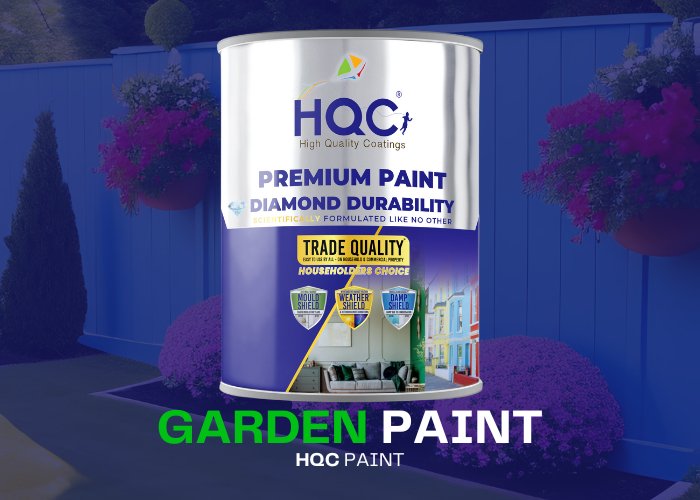
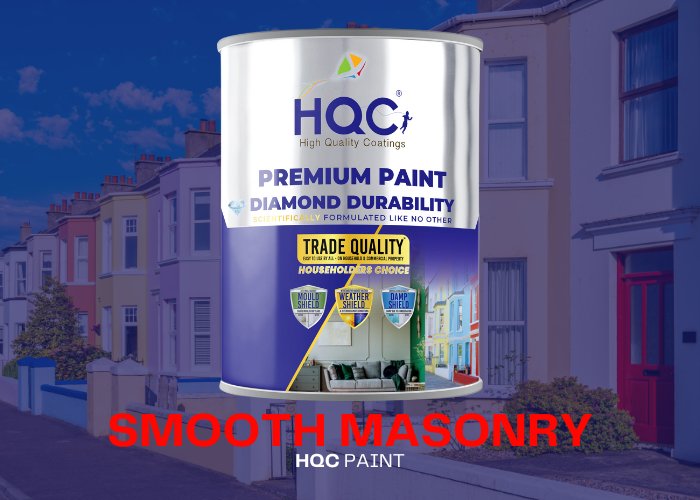
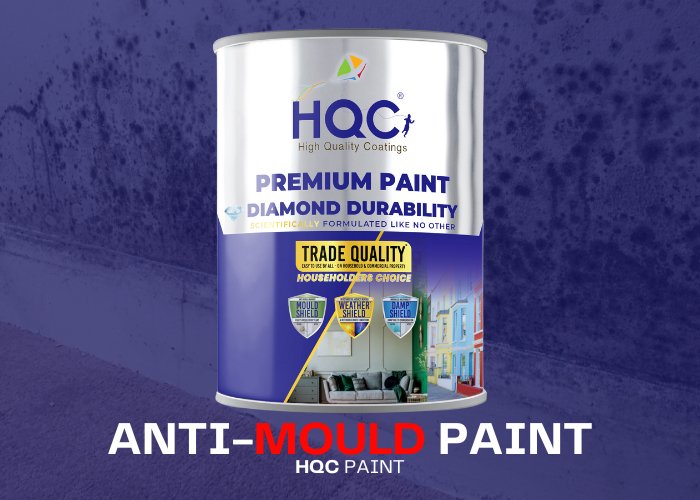
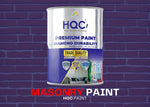
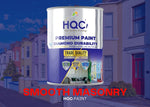
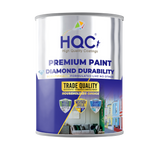
- HQC Masonry Paint: Provides excellent protection and durability for exterior walls.
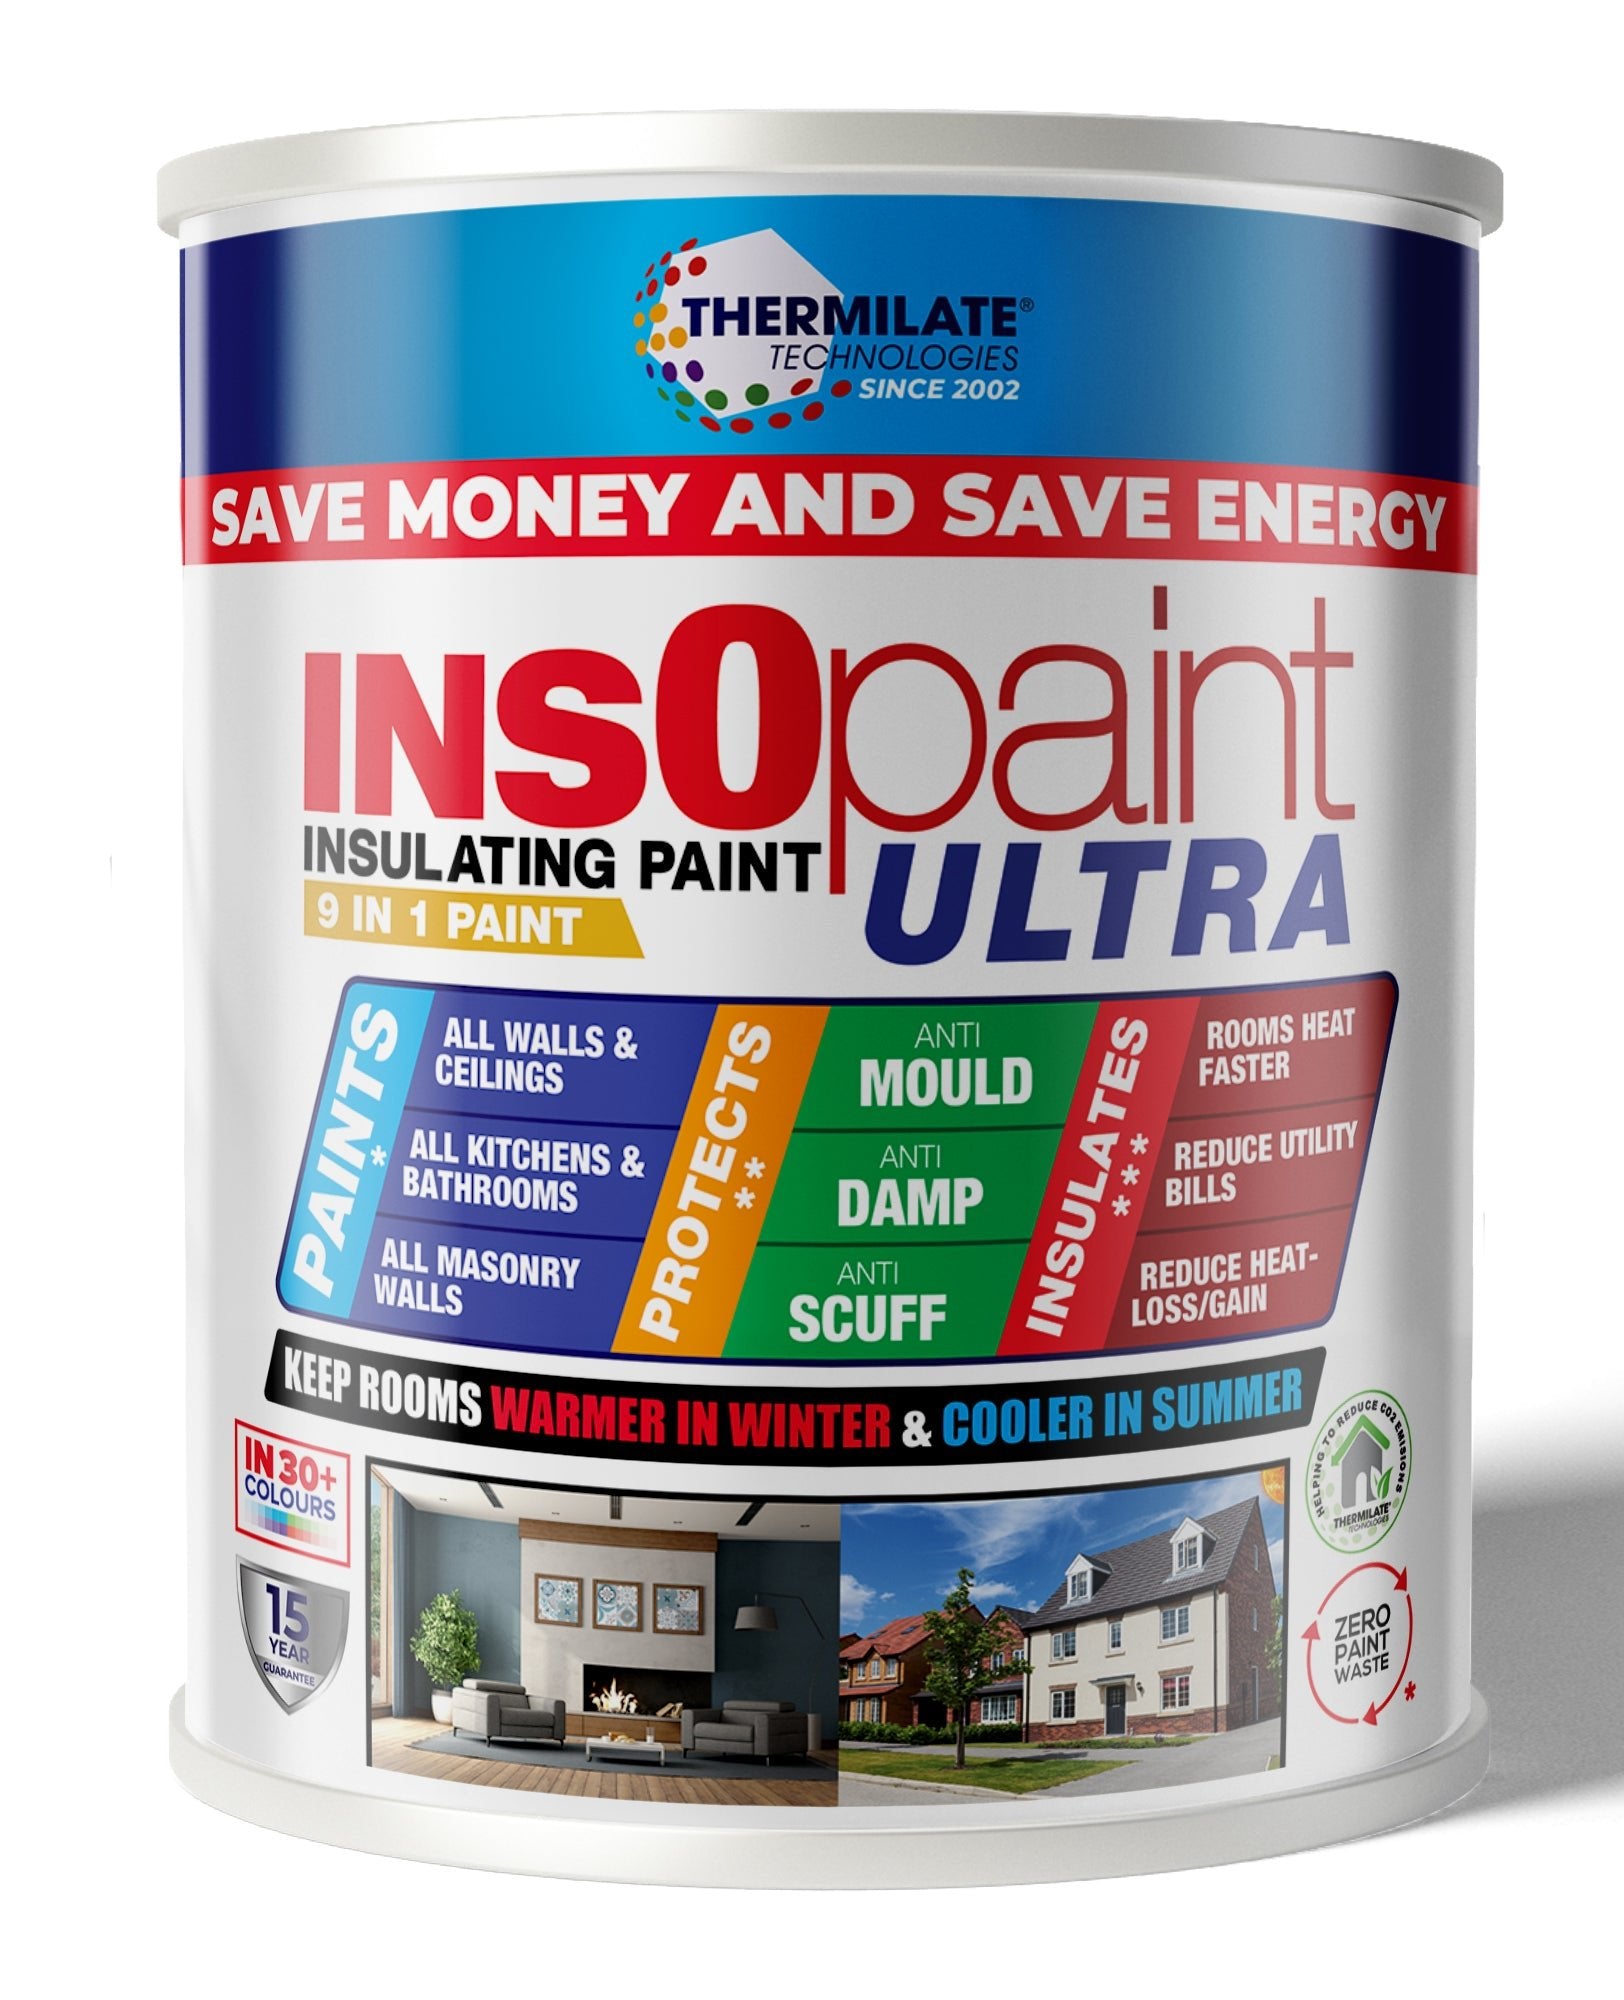
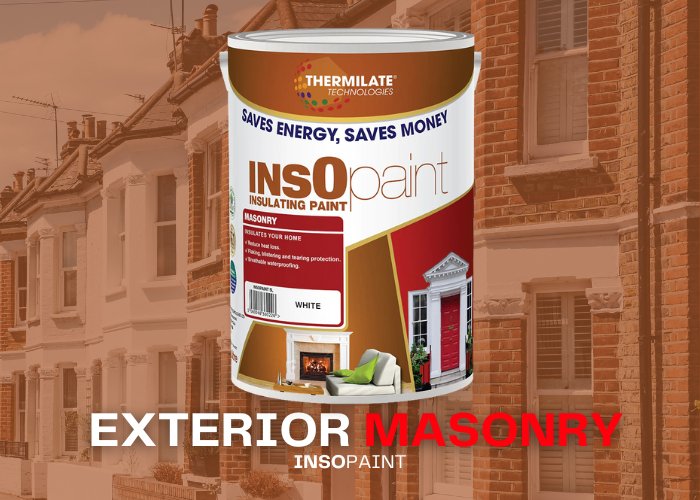
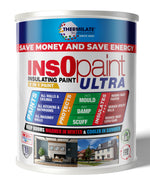
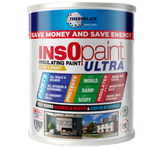
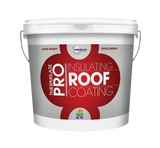
- InsOpaint Ultra: Offers insulation and moisture resistance, making it ideal for outdoor surfaces.
- HQC Universal Primer: Ensures the paint adheres properly, especially for porous garden walls.
- Sanding block or wire brush: For removing any moss, dirt, or loose paint.
- Brushes or rollers: Depending on your preference for application.
- Drop cloths or plastic sheets: To cover surrounding areas from paint splatters.
- Painter’s tape: To protect edges and areas you don’t want to paint.
Step 2: Prepare the Surface
Preparation is crucial for a long-lasting, durable finish on garden walls:
- Clean the Wall: Use a wire brush or pressure washer to remove any dirt, moss, or algae from the surface. If necessary, use a mild detergent to clean the wall thoroughly. Let the surface dry completely before moving forward.
- Repair Cracks and Damage: If there are any cracks or loose areas of render, repair them with a suitable filler or masonry repair product. Let the filler dry according to the manufacturer’s instructions.
- Prime the Wall: Apply HQC Universal Primer to the garden wall. This will help the paint adhere properly and provide a smooth, long-lasting finish.
Step 3: Mask the Area
Use painter’s tape and drop cloths to protect surrounding areas:
- Apply Painter’s Tape: Mask off any areas that you don’t want to paint, such as the ground, fences, or plants.
- Lay Down Drop Cloths: Protect the surrounding area from paint splashes by covering it with drop cloths or plastic sheets.
Step 4: Apply the Paint
Once the surface is prepped and masked, it’s time to start painting:
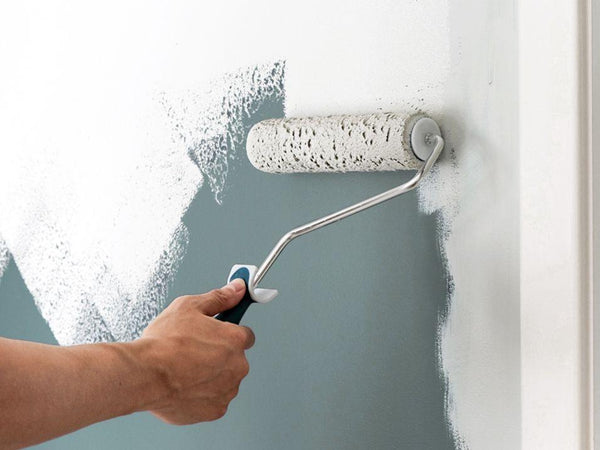
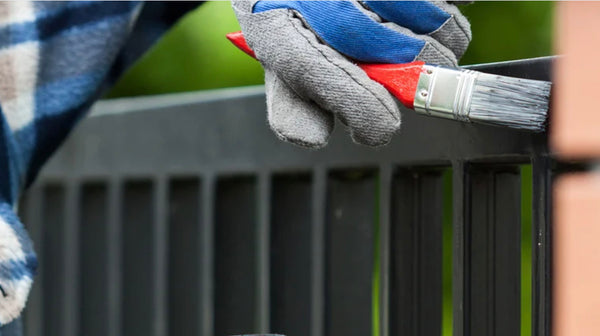
- Cut In with a Brush: Use a small brush to paint around the edges of the garden wall and any detailed areas near fences or paths.
- Apply the First Coat: Use HQC Masonry Paint or InsOpaint Ultra to cover the garden wall. These paints provide long-lasting protection against moisture and weather damage.
- Let the Paint Dry: Allow the first coat to dry completely, typically 4-6 hours, depending on the weather conditions.
- Apply a Second Coat (If Necessary): For better durability and coverage, apply a second coat after the first has dried.
Step 5: Finishing Touches
Once the paint has dried, complete the project with the following steps:
- Remove Painter’s Tape: Carefully remove the painter’s tape while the paint is still slightly tacky to avoid peeling.
- Inspect for Touch-Ups: Check for any missed spots or imperfections and apply touch-up paint as necessary.
Tips for a Durable and Weatherproof Finish
- Use Weatherproof Paint: For garden walls, use HQC Masonry Paint or InsOpaint Ultra to ensure a durable, weather-resistant finish.
- Prime for Best Results: Applying HQC Universal Primer ensures better paint adhesion and helps seal porous surfaces for a long-lasting finish.
- Apply Two Coats: Two coats of paint are recommended for maximum protection and coverage, especially for outdoor walls exposed to harsh weather conditions.
Recommended Products
For painting your garden walls, we recommend the following products from PaintOutlet.co.uk:
- HQC Masonry Paint: Ideal for providing a durable, weatherproof finish on exterior walls.
- InsOpaint Ultra: Offers insulation and moisture resistance, perfect for outdoor walls.
- HQC Universal Primer: Ensures better adhesion and durability on rough or porous garden surfaces.
FAQ Section
Q: Can I use regular interior paint on my garden walls?
A: No, it’s best to use weatherproof paints like HQC Masonry Paint or InsOpaint Ultra for outdoor walls, as they provide protection against moisture and weather damage.
Q: Do I need to prime my garden walls before painting?
A: Yes, using HQC Universal Primer ensures better paint adhesion and a longer-lasting finish, especially for porous walls.
Q: How many coats of paint should I apply to my garden walls?
A: Two coats of paint are recommended for the best coverage and durability, especially in areas exposed to the elements.
Conclusion
Painting your garden walls can greatly enhance the look of your outdoor space while providing a durable barrier against the weather. By following this guide and using high-quality products from PaintOutlet.co.uk, you can achieve a long-lasting, beautiful finish that protects your walls from damage. Whether you’re painting new garden walls or refreshing old ones, these steps will help ensure the best results.
At PaintOutlet, we provide eco-friendly, high-quality paints designed to withstand harsh outdoor conditions. Our products offer lasting durability, helping you maintain a beautiful and functional outdoor space with minimal upkeep.


