


Introduction
Bathroom ceilings are prone to moisture, mould, and mildew due to high humidity levels. Painting your bathroom ceiling with anti-mould and damp-resistant paint can help prevent these issues, keeping the ceiling looking fresh for years to come. Proper surface preparation and choosing the right paint are key to ensuring a long-lasting, mould-resistant finish. This guide will walk you through how to paint bathroom ceilings effectively.
Surface Preparation is the most important step when painting. If avoided, it can affect the whole outcome of your project. Surfaces must be prepared correctly for the paint to adhere and bond to the surfaces. Poor preparation will result in peeling and flaking. Good preparation will give you a very long-lasting paint performance.
Step 1: Gather Your Materials
Before starting your project, make sure you have the following materials:
- HQC Kitchen & Bathroom Paint: Formulated to resist mould and mildew, making it ideal for bathroom ceilings.
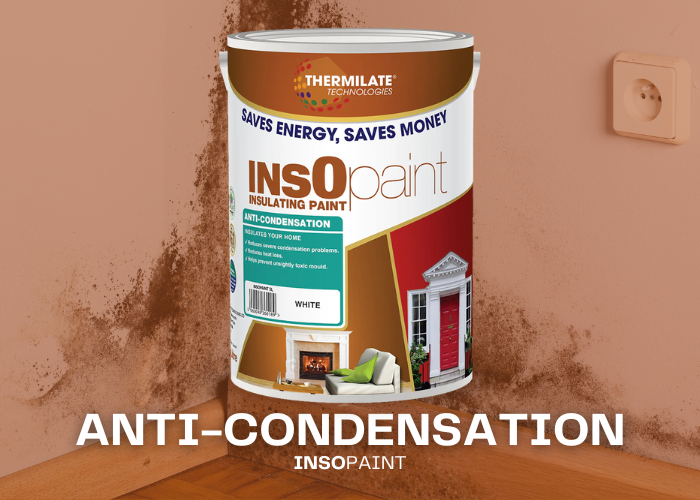
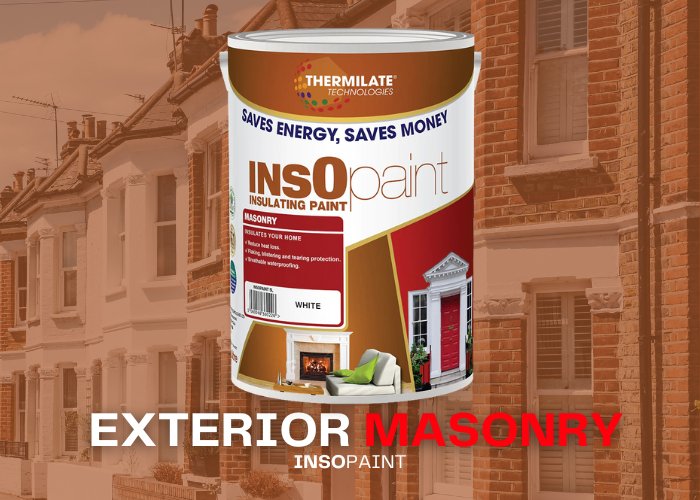
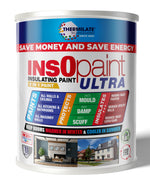
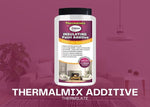
- InsOpaint Ultra: Provides insulation and moisture resistance to help prevent condensation.
- HQC Universal Primer: Ensures the paint adheres properly, especially in areas prone to dampness.
- Sanding block or fine-grit sandpaper: For smoothing rough areas or removing old paint.
- Brushes or rollers: Depending on your preference for application.
- Drop cloths or plastic sheets: To cover surrounding areas from paint splatters.
- Painter’s tape: To protect edges and other areas not being painted.
Step 2: Prepare the Surface
Preparation is essential for achieving a mould-resistant finish on your bathroom ceiling:
- Clean the Surface: Wipe down the ceiling to remove dust, dirt, and any mould or mildew. Use a mild detergent or mould-removal cleaner to clean the ceiling thoroughly. Let it dry completely.
- Sand the Surface: Use fine-grit sandpaper to smooth any rough spots or areas where old paint is peeling. Sanding also helps create a surface that the paint can adhere to effectively.
- Prime the Ceiling: Apply HQC Universal Primer to ensure the paint adheres well and resists moisture. This step is especially important for bathrooms due to the high humidity levels.
Step 3: Mask the Area
Use painter’s tape and drop cloths to protect areas you don’t want to paint:
- Apply Painter’s Tape: Mask off any edges, light fixtures, or vents to prevent paint from getting on them.
- Lay Down Drop Cloths: Cover the floor and any bathroom fixtures with drop cloths to protect them from paint splatters.
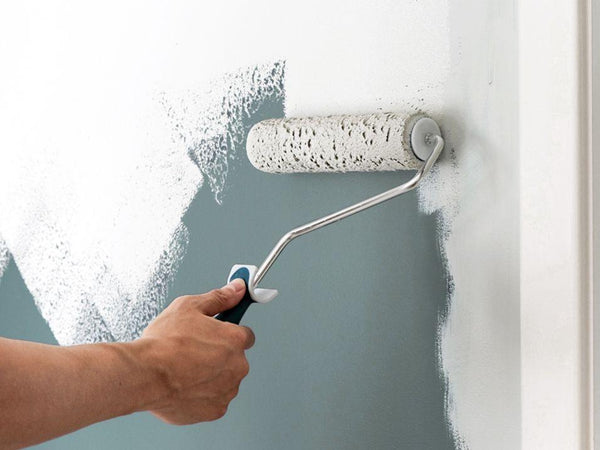
Step 4: Apply the Paint
Once the surface is prepped and masked, it’s time to paint:
- Cut In with a Brush: Use a small brush to paint around the edges of the ceiling and any detailed areas near vents or fixtures.
- Apply the First Coat: Use HQC Kitchen & Bathroom Paint or InsOpaint Ultra to cover the ceiling. Both paints are formulated to resist mould and mildew while providing moisture protection.
- Let the Paint Dry: Allow the first coat to dry completely, which typically takes 4-6 hours depending on room humidity.
- Apply a Second Coat (If Necessary): For better durability and coverage, apply a second coat after the first has dried.
Step 5: Finishing Touches
After the paint has dried, complete the project with these finishing steps:
- Remove Painter’s Tape: Carefully remove the painter’s tape while the paint is still slightly tacky to avoid peeling.
- Inspect for Touch-Ups: Check for any missed spots or imperfections and apply touch-up paint as necessary.
Tips for a Mould-Resistant and Damp-Proof Finish
- Use Anti-Mould Paint: For bathrooms, use HQC Kitchen & Bathroom Paint or InsOpaint Ultra to ensure the ceiling is protected against mould, mildew, and condensation.
- Prime for Best Results: Applying HQC Universal Primer helps the paint adhere better and offers additional moisture resistance, especially for areas prone to dampness.
- Apply Two Coats: Two coats of paint are recommended for better coverage and protection, especially in high-humidity areas like bathrooms.
Recommended Products
For painting your bathroom ceiling, we recommend the following products from PaintOutlet.co.uk:
- HQC Kitchen & Bathroom Paint: Formulated to resist mould and mildew, perfect for moisture-prone areas.
- InsOpaint Ultra: Provides insulating and moisture-resistant properties to prevent condensation on ceilings.
- HQC Universal Primer: Ensures better adhesion and moisture protection for damp-prone ceilings.
FAQ Section
Q: Can I use regular paint on a bathroom ceiling?
A: No, it’s best to use anti-mould and moisture-resistant paint like HQC Kitchen & Bathroom Paint or InsOpaint Ultra for areas with high humidity to prevent mould and mildew growth.
Q: Do I need to prime the bathroom ceiling before painting?
A: Yes, using HQC Universal Primer ensures better paint adhesion and helps protect against moisture and dampness.
Q: How many coats of paint should I apply to my bathroom ceiling?
A: Two coats are recommended for maximum protection and coverage, especially in moisture-prone areas like bathrooms.
Conclusion
Painting your bathroom ceiling with anti-mould and damp-resistant paint is essential for preventing mould, mildew, and peeling paint due to high humidity. By following this guide and using high-quality products from PaintOutlet.co.uk, you can ensure a long-lasting, mould-resistant finish. Whether you’re painting a new bathroom or refreshing an old one, these steps will help you achieve the best results.
At PaintOutlet, we are committed to providing eco-friendly, high-quality paints that deliver professional results while helping you save time and money. Our paints are designed to last, reducing the need for frequent repainting and minimising environmental impact.