Introduction
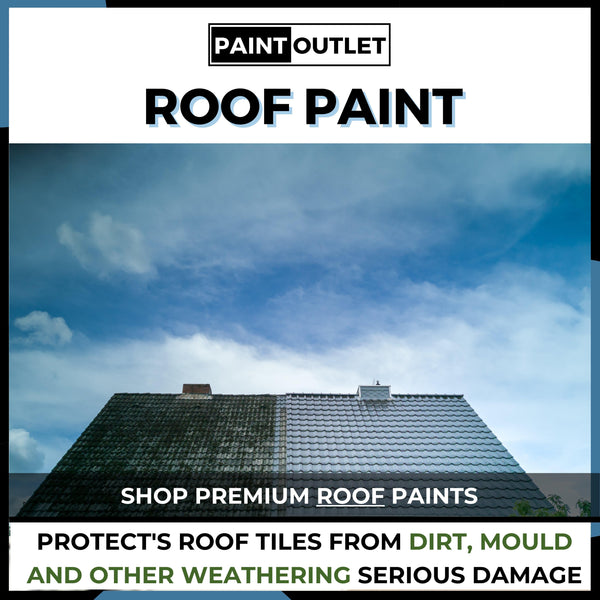
Over time, roofs can become weathered, faded, and prone to damage due to constant exposure to the elements. Painting your roof is an effective way to refresh its appearance while providing extra protection against harsh weather conditions. Proper surface preparation is essential to ensure that the paint adheres properly and offers long-lasting protection.
In this guide, we’ll take you through the steps of painting and reviving your roof for a refreshed, durable finish.
Step 1: Gather Your Materials
Before you begin, make sure you have all the necessary tools and products:
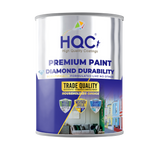
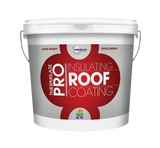
- HQC Roof Paint or Pro Range Roof Coating for a durable, weather-resistant finish.
- HQC Stabilising Primer or Pro Range Roof Primer for priming the roof.
- Thermilate Fungicidal Wash for cleaning and preparing the roof surface.
- Paintbrushes: For detailed work around edges and seams.
- Rollers or paint sprayer: For larger areas.
- Ladder and safety gear: For accessing the roof safely.
- Wire brush: To remove dirt, moss, and debris.
- Pressure washer or hose: For cleaning the roof surface.
- Painter’s tape: To protect gutters or nearby areas.
Step 2: Prepare the Roof
Preparation is key to ensuring the paint adheres well and offers maximum protection:
- Clean the Roof: Use a pressure washer or hose to remove dirt, debris, and any moss or algae. Use a wire brush to scrub off any stubborn dirt. For best results, clean the surface with Thermilate Fungicidal Wash to eliminate mould or mildew growth.
- Inspect the Roof for Damage: Check for any loose or damaged tiles and repair them before painting.
- Tape Off Surrounding Areas: Use painter’s tape to protect gutters, vents, or areas that don’t need painting.
Step 3: Apply Primer
Applying a primer will ensure better adhesion and extend the life of the paint:
- For Best Results: Use HQC Universal Primer or Pro Range Roof Primer to seal the roof surface and prepare it for painting.
Step 4: Start Painting the Roof
Once the roof is clean and primed, you can begin painting:
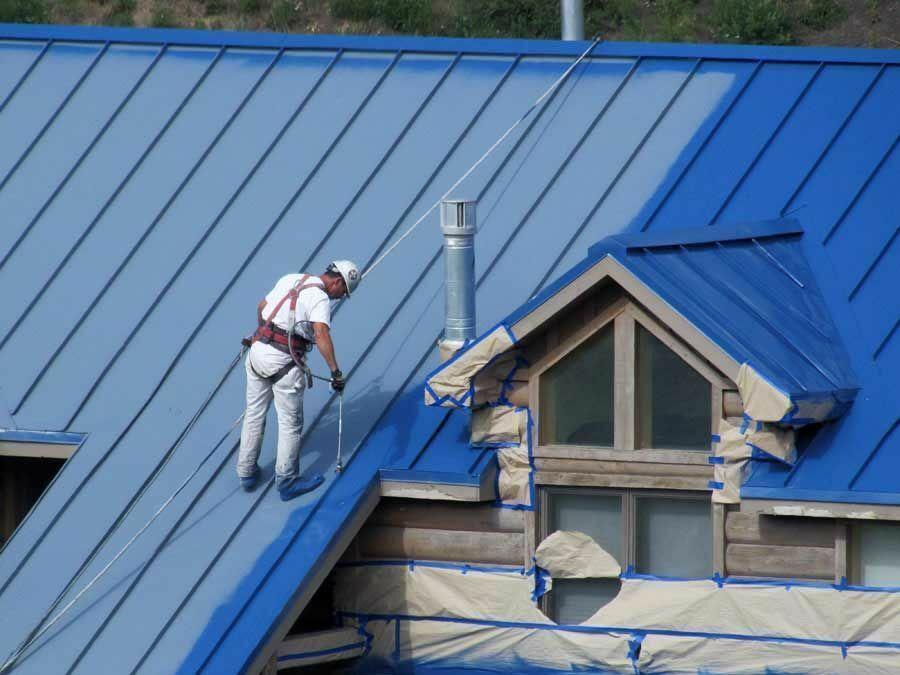
- Cut In with a Brush: Start by painting around the edges, seams, and any detailed areas with a brush.
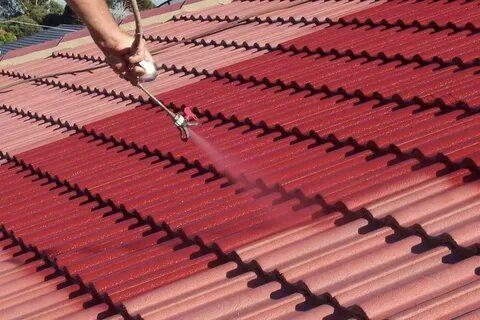
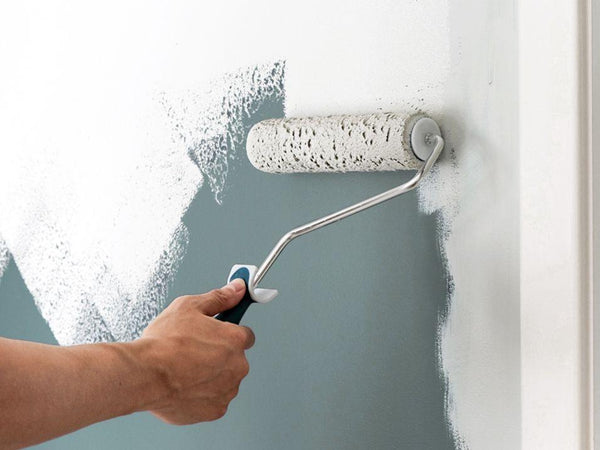
- Roll or Spray for Larger Areas: Use a roller or sprayer to apply the paint evenly across the larger sections of the roof.
- Apply the First Coat: Apply one coat of HQC Roof Paint or Pro Range Roof Coating and allow it to dry for 4-6 hours.
- Apply a Second Coat: For additional durability and coverage, apply a second coat after the first has fully dried.
Step 5: Inspect and Touch Up
After the second coat has dried, inspect the roof for any areas that need touch-ups. Use a small brush to fill in any missed spots or uneven areas.
Step 6: Clean Up
Once the painting is finished, clean up your workspace and tools:
- Remove Painter’s Tape: Remove the tape carefully while the paint is still slightly wet to avoid peeling.
- Clean Your Tools: Clean your brushes, rollers, and sprayer with warm water for future use.
Recommended Products
For the best results when painting your roof, we recommend the following products from PaintOutlet.co.uk:
- HQC Roof Paint: Provides a durable, weather-resistant finish ideal for roofs.
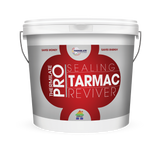
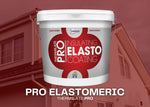
- Pro Range Roof Coating: Offers excellent durability and protection for roofs exposed to harsh weather.
- HQC Stabilising Primer or Pro Range Roof Primer: Ensures proper adhesion and prepares the roof for painting.
- Thermilate Fungicidal Wash: Cleans and protects the roof surface from mould and mildew.
FAQ Section
Q: What is the best paint to use for a roof?
A: We recommend HQC Roof Paint or Pro Range Roof Coating, both of which provide excellent durability and weather protection for roofs.
Q: How many coats of paint should I apply to my roof?
A: Apply at least two coats for even coverage and maximum protection, especially for roofs exposed to harsh weather conditions.
Q: Should I always prime my roof before painting?
A: Yes, priming ensures proper adhesion and prolongs the life of the paint. We recommend using HQC Universal Primer or Pro Range Roof Primer.
Conclusion
Painting your roof can breathe new life into your home’s exterior while protecting it from weather damage. By following this step-by-step guide and using high-quality products from PaintOutlet.co.uk, you’ll achieve a refreshed, durable roof. Not only will your roof look great, but you'll also be adding an extra layer of protection against the elements. Plus, with our eco-friendly approach, you're supporting sustainability while improving your home.


